Best Practices
Build Your Own Monitor Mount
The Finish
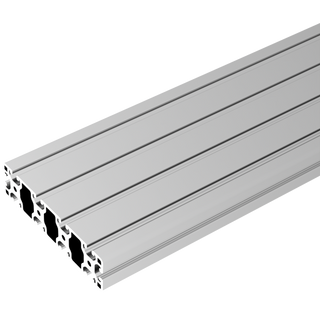
Clear Anodized - Silver
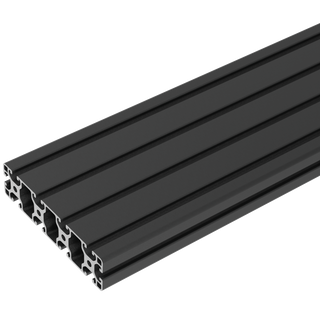
Black Powder Coated
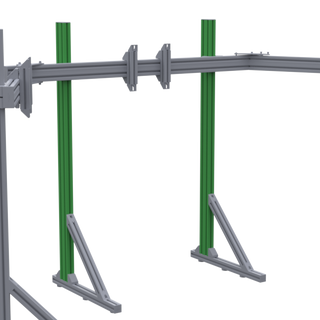
Uprights
Purpose:
- Upright Profiles run vertically from the Monitor Stand Feet.
Best Practices:
- Usually 1.5x3 inch profiles, we did add the 1.5x1.5 inch profiles in this option, but we would advise against using them as uprights unless you had a specific plan in mind.
- Height range is anywhere from 38 to 60 inches depending on your monitor sizing.
Notes:
You need 2 of them(duh) left and right and those must be added separately.
If you plan on having side monitor support uprights, those can be added later.

Crossbar
Purpose:
- The cross profile that mounts between the upright. Your VESA mount attaches here.
Best Practices:
- Usually a 1x3 inch profile but a 1.5x1.5 can be used for 27inch light monitors
- a triple monitor setup has a cross bar mounted in front whereas a single set-up can have it mounted in front of the uprights but is usually mounted in between the uprights (attached inside)
- Usually a single is a around 35 inches long and a triple can be 40 to 60 inches long depending on the monitors being used.
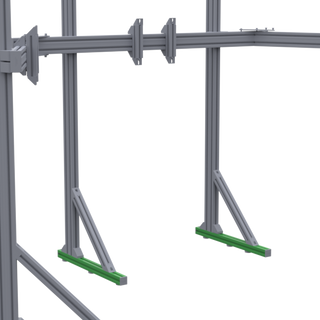
Monitor Stand Foot
Purpose:
- Just as your own feet awkwardly :) hold up your body, your monitor stand needs the same.
Best Practices:
- Usually these are 1.5x1.5 inch profiles, 20-28inches.
- Can use 1.5x3 inch if you prefer.
- The Uprights mount towards the rear of the monitor feet
- They are attached to the upright by corner brackets, usually 1515 or 1530 for extra strength.

Side Monitor Arms
Purpose:
- To hold your side monitors on a triple monitor mounting solution
Best Practices:
- Usually these are 1.5x3 inch profiles, 18-50 inches.
- Can use 1.5x1.5 inch for 27 inch very light weight monitors
- They are attached to the Crossbar with pivot plates

Support Upright
Purpose:
- Added when heavier monitors are being mounted in order to have a second mounting point t better distribute monitor load
Best Practices:
- Can be 1.5x3 inch or 1.5x1.5 inch
- Can be attached to the inside of the side monitor arm or at the end.
- The Uprights mount towards the rear of the monitor feet
- They are attached to the side monitor arm by corner brackets.

Support Foot
Purpose:
- To support the outside Upright Supports
Best Practices:
- Same as the standard uprights although can be slightly shorter as they support less weight than the main ones.
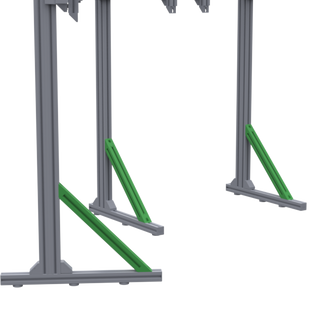
45 Degree 18in Support
Purpose:
- Adds even greater support for the upright for very heavy monitors
Best Practices:
- Price is per each one, so best to buy in pairs.
Note:
- Includes the mounting hardware; M8 T-Nut x 2, M8 16mm x 2
VESA Mounts
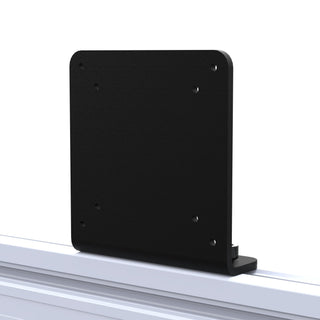
75x75, 100 x 100mm
Made from heavy duty high grade steel, this VESA plate comes with standard mounting interfaces of 75x75mm and 100x100mm. Includes mounting hardware
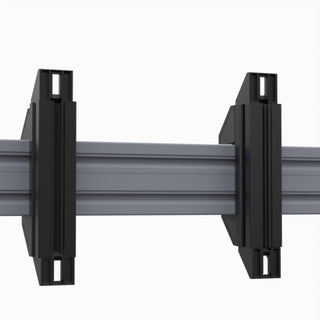
Large Screen VESA Mount 200, 300 and 400mm (set of 2)
Mounting solution for200mm, 300mm or 400mm. Fits displays up to 75 inches.
Price is for 1 set of 2 (1 display) & Includes mounting hardware.
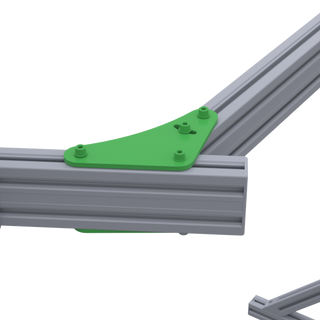
Pivot Plates
Purpose:
- To angle your side monitor arms to the perfect triple viewing angle
Best Practices:
- 2 per joint. 1 on top and 1 on bottom.
- Includes mounting hardware; 4 x M8 T-Nuts, 4 x M8 20mm bolts, 4 x M8 washers
Note:
Price is per each so buy in pairs.
Triple monitor set-ups need 4.
Top/Quad monitor set-up need 2.
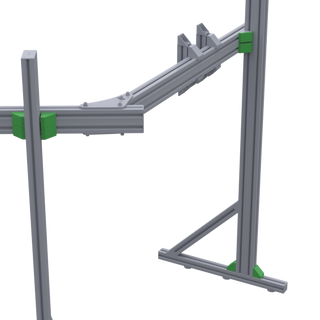
Corner Brackets
Purpose:
- Use as many as you need to secure your monitor mount.
Best Practices:
- Please see the photo for refererance about where corner brackets are best placed.
- See the back corner bracket on the photo? The one that attached the side mount to the top of the long side profile? Most cockpit companies don't use that one, we do. It's awesome. that one extra bracket is positioned very well to keep the side mount as strong as possible.
Notes:
- Each bracket that we sell comes with the necessary T-Nuts and M8 bolts necessary to use them; 2 x M8 T-Nuts and 2 x M8 16mm steel Bolts
- Cover caps are not included with a bracket, those are sold separately.
- Our Corner Brackets are slotted and have tabs on them that help to keep them guided in the slot but can also be broken off in order to mount a brackets across a slot (as opposed ot inside of it)
- They are 38x36x36 mms (same as 40 Series)
- You can use silver corner brackets on a black powder coated frame. Or vice-versa. Simply a matter of color preference.
Our Brackets
1515 Corner Brackets
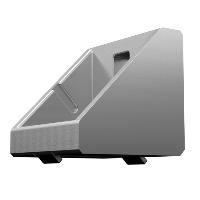
1515 Cover Caps
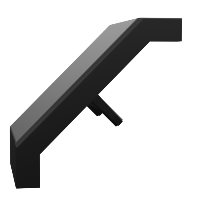
1530 Corner Bracket
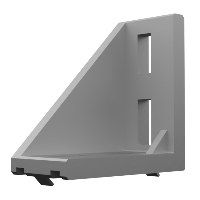
1530 Cover Caps
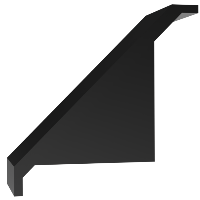
Extrusion End Caps
1515 End Cap
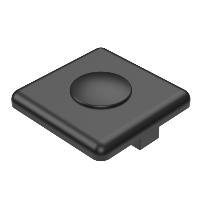
1530 End Cap
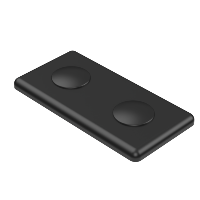
1545 End Cap
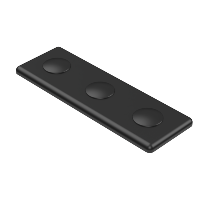
1560 End Cap
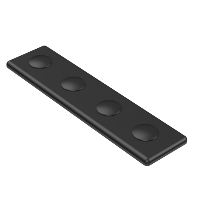
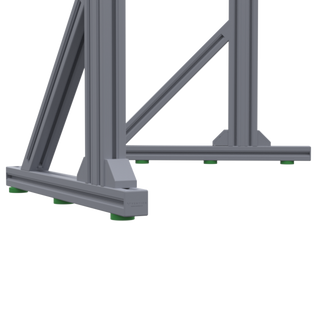
Rubber Feet
Purpose:
1.5x1.5x0.75 inch heavy duty rubber feet to protects your floor.
Best Practices:
- Includes mounting hardware; M8 T-Nuts x 1, M8 18mm Bolt x 1
- We suggest 3 per monitor stand foot. Although our competitors only use 2, we don't consider that frugal or smart.....1 for the front, 1 for the back and 1 for the middle. that helps to best evenly distribute the load (weight).
